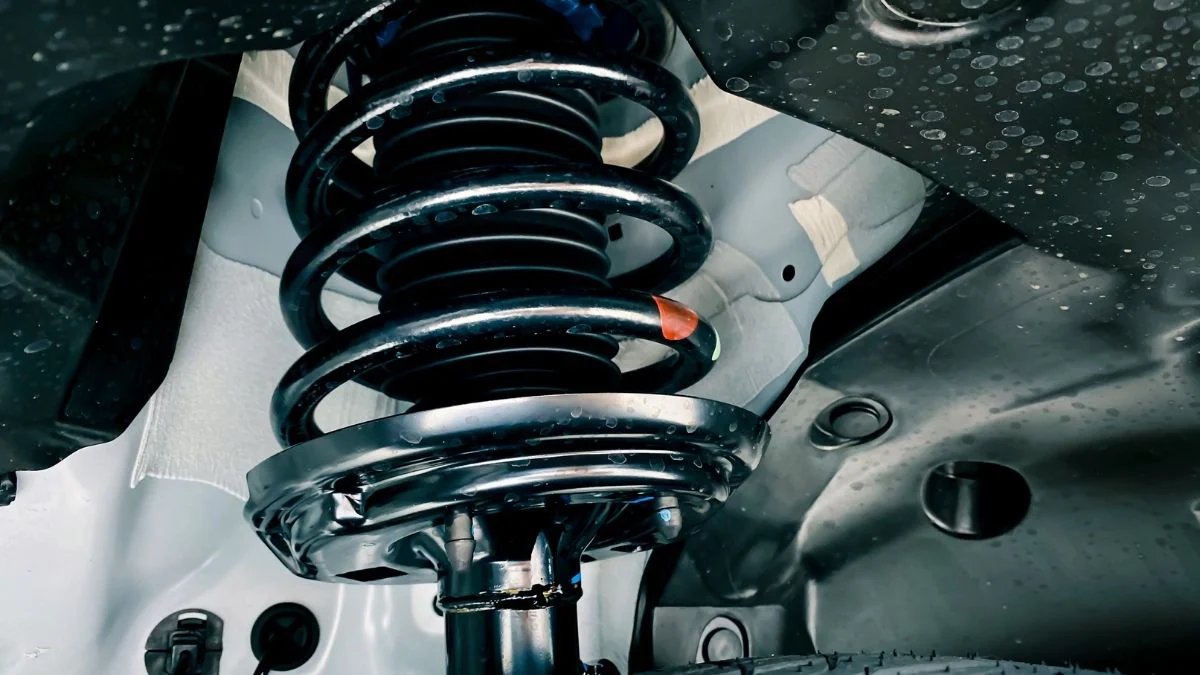
Car enthusiasts and off-road adventurers know that a vehicle’s suspension system is crucial for a smooth and comfortable ride. If you’re looking to enhance your vehicle’s suspension, car coil spacers are an excellent choice. In this step-by-step guide, we’ll walk you through the process of installing car coil spacers, helping you achieve a more comfortable and controlled ride.

Materials You’ll Need:
Before we get started, gather the following materials:
- Car coil spacers (ensure you select the right size and type for your vehicle).
- Jack and jack stands.
- Lug wrench.
- Socket set.
- Torque wrench.
- Wheel chocks.
- Safety goggles and gloves.
- Hydraulic floor jack (optional but helpful).
- Penetrating lubricant (such as WD-40).
- Anti-seize compound.
Step 1: Safety First Begin by ensuring your safety and the safety of your vehicle. Park your car on a level surface, engage the parking brake, and wear safety goggles and gloves throughout the installation process. Place wheel chocks behind the rear wheels to prevent any accidental rolling.
Step 2: Lift the Vehicle Use the hydraulic floor jack or the provided car jack to lift the front or rear of your vehicle, depending on where you intend to install the coil spacers. Position jack stands securely under the frame to support the weight of the car. Double-check that the vehicle is stable before continuing.
Step 3: Remove the Wheels Use the lug wrench to loosen the lug nuts on the wheels but don’t remove them completely just yet. This will make it easier to remove the wheels once the vehicle is fully raised.
Step 4: Remove the Coil Spring Locate the coil spring you want to work on. You may need to remove certain components, like the wheel or shock absorber, to access the coil spring. Once accessible, use the appropriate socket and wrench to carefully remove the bolts securing the coil spring.
Step 5: Insert the Coil Spacer Carefully insert the coil spacer on top of the coil spring. Make sure it fits snugly and securely.
Step 6: Reassemble Reattach any components you removed in Step 4, such as the wheel or shock absorber. Be sure to torque all bolts to the manufacturer’s specifications.
Step 7: Lower the Vehicle Gently lower your vehicle using the hydraulic floor jack or car jack. Remove the jack stands and ensure the vehicle is resting on its wheels.
Step 8: Tighten Lug Nuts Tighten the lug nuts on the wheel you removed in Step 3 in a star pattern. Torque them to the manufacturer’s recommended settings.
Step 9: Test Drive Take your vehicle for a test drive to evaluate the impact of the newly installed coil spacers on your suspension. Pay attention to how it handles bumps and rough terrain.
Conclusion
Installing car coil spacers is a practical way to improve your vehicle’s suspension and ride quality. By following this step-by-step guide and prioritizing safety, you can tackle this project with confidence. Remember that if you’re uncomfortable performing this installation yourself, it’s always wise to seek professional assistance to ensure the job is done right. Enjoy your smoother, more controlled ride on and off the road!


